Here is where we started….A great trunk with splattered paint and some pretty rough wood slats, tin, canvas and leather……..
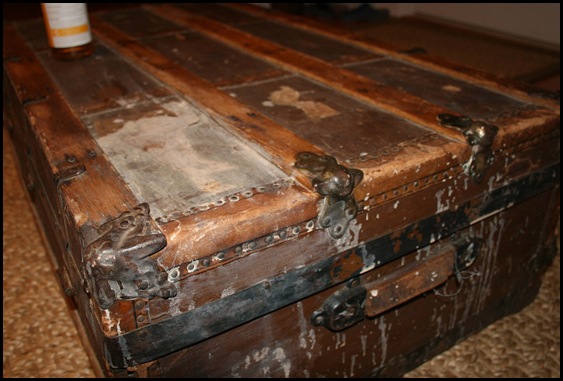
Wood Slats First……..
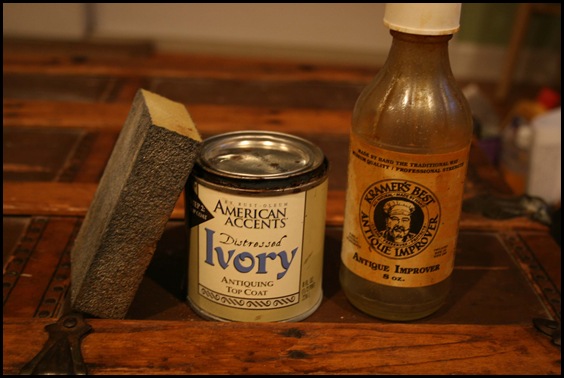
First I wiped the wood down with Murphy's Oil Soap with a rag….Then I gave them a gentle sanding with the sandpaper block….
Next I wiped the slats down with Kramer’s Best( a WONDERFUL antique wood restoration product) with a rag and let that dry over night…Next day brushed on light coat of stain with a Purdy Brush—I use my ol’ faithful Purdy brush…..
Dry over night…..the next step is a finish with Tung Oil and Mineral Spirits…
Ol’ Faithful…..my Purdy……

When I used the Tung Oil and Mineral Spirits I combined an equal amount of both and added a little stain again…at first I thought they had too much of a dark tint to them so the next day I added a lighter stain to the Tung Oil and Minerals Spirits......I let each coat dry overnight …I applied 3 coats…and then gently sanded with steel wool…..I saw a change in the wood when I sanded with steel wool as opposed to the sand block.....The wood really came alive!!The different streaks and patterns in the wood really seemed to blossom......
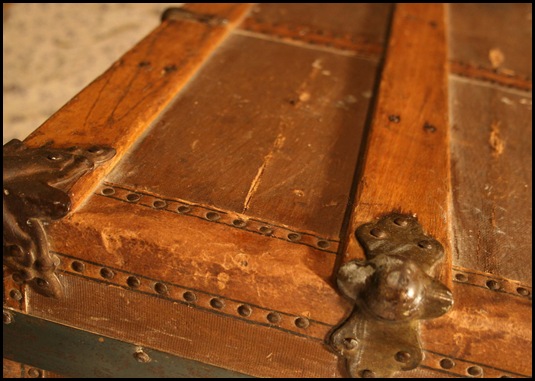
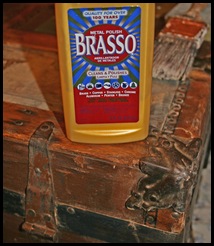
Next I started the LOOONG process of removing the rust on the tin strips and hardware…..
Before…

After…
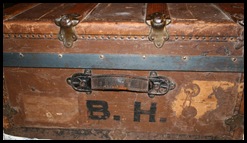
Before…
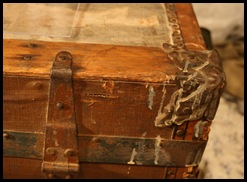
no rocket science here...just rub, rub, rub, and take some before and after shots so you can look and see your progress...it helps the process.........here is the after shot...
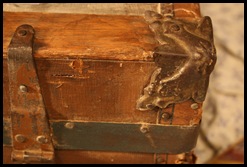
To remove the paint I used Sol U Mel google that cleaner...It is an internet product…..Before….
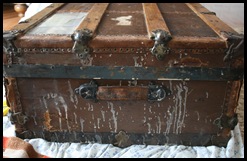
and after……once again not rocket science --- just time consuming...and if your trunk has canvas (most trunk dealers LOVE the canvas covered trunks) you MUST dab the Sol U Mel VERY lightly so you will not damage the original canvas...if you don't care about the canvas and keeping the trunk original just paint the canvas...I wanted to keep the trunk as original as possible....hence the LONG hours of GENTLE rubbing........ it was worth every second!
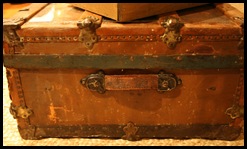
on the leather strips I soaked a rag and dabbed …..
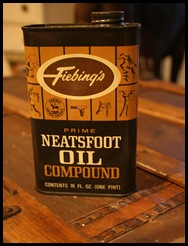
Some ol’ school Neatsfoot oil…I rubbed this into the leather several nights over and over…….it softened the leather and gave it a rich color…..
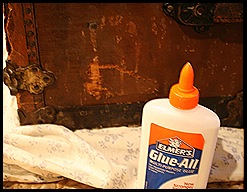
There was slight tear in the canvas on one side and after researching I found the experts use….good ol' Elmer’s Glue to repair the canvas tears….just LIGHTLY dab it on your finger and then onto the tear and press and hold……
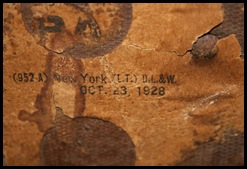
Finally I wanted to protect and preserve some of the travel stamps on the trunk.....
This one is from New York October 23, 1928..you wonder-who left or arrived to New York and why...I love the mystery of a trunk.....
and once again New York 1951….

For this we purchased very thin Plexiglas and cut it to fit the area that needed to be protected …precisely…you really cannot tell it is covered and the stamps are preserved for ever…

We went from this…

to this…..and the stenciled BH-here is the cool part--those are both my mother and father's initials!!
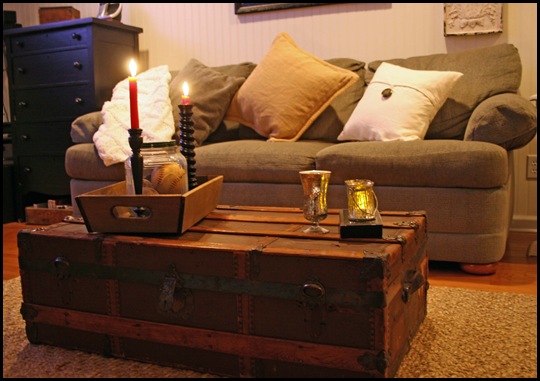
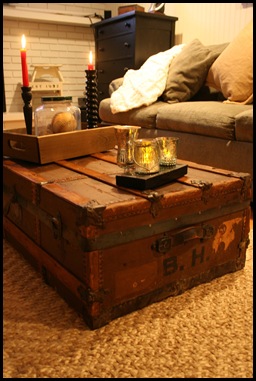
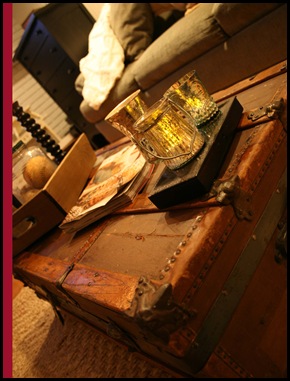
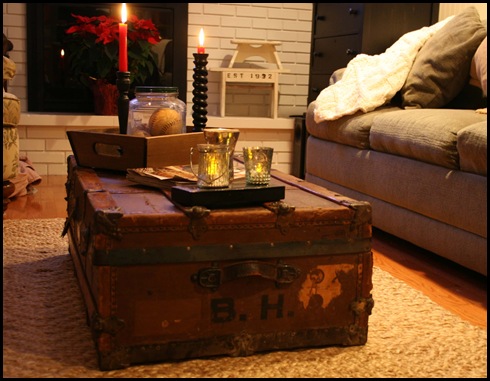
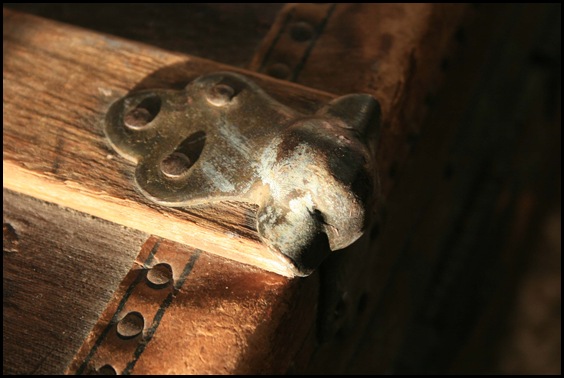
I will add some pictures in better light so you can enjoy the beauty of the wood and leather………..but that will be tomorrow….night all..check out where I have shared this idea--and go there also to see some other great DIY's!! Enjoy.....
http://funkyjunkinteriors.blogspot.com/2011/01/sat-nite-special-66-brings-you-what-is.html?utm_source=feedburner&utm_medium=feed&utm_campaign=Feed%3A+blogspot%2FKCcu+%28Funky+Junk+Interiors%29
http://www.perfectlyimperfectblog.com/2011/01/another-preview-winner-and-furniture.html
http://thediyclub.com/2011/01/jan-2011-diy-project-party/


Love the trunk! You did a wonderful job bringing it back to life and it looks just perfect in your living room. Thanks for sharing.
ReplyDeleteI love old trunks! Yours looks fabulous!
ReplyDeletegail
Oh my gosh... THAT is fantastic!!! I would never get off the couch 'cause I'd always be staring at it!!!!
ReplyDelete;-D robelyn
Well done. It is vastly improved but how many hours and products? I have a steamer trunk with the tray that I got for twenty five dollars but I am not touching it. Maybe I will photograph it one day. You are one busy lady. I will follow you also♥
ReplyDeleteWow! What a lot of work, but what a fabulous out come! That trunk is absolutely beautiful! Great job!
ReplyDeleteRebecca
Wow, lots and lots and lots of hard work, but what a beautiful, one of a kind piece!!
ReplyDeleteYour hard work paid off - it's beautiful! I love trunks as tables. Great job!
ReplyDeleteRoeshel
That was really a labor of love. I cannot believe your endurance for the careful details. You have preserved a fine, interesting piece. Blessings, Kim
ReplyDeleteWhat a gorgeous restoration!! You really did a fabulous job! Thanks for linking to SFS! -shaunna :)
ReplyDeleteThis is a work of art-gorgeous. Great job!!
ReplyDeleteCheri
Your trunk turned out beautifully!
ReplyDelete~Mary
www.thecraftygals.blogspot.com
Check out our TOP 10 Post and b e sure to check out EXCITING CHANGES at THE DIY CLUB post as well--REALLY EXCITING!!
ReplyDeleteCheri